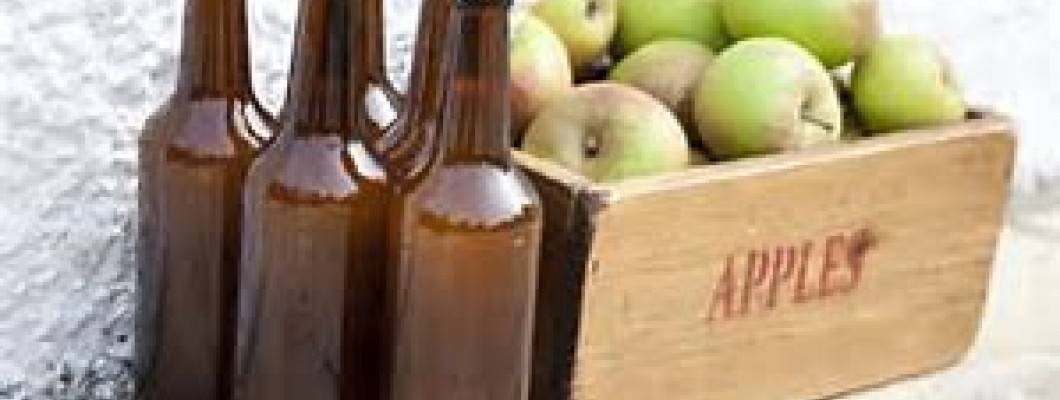
Have you ever thought about making your own cider? It's a natural process that looks after itself so it's quite easy but it will probably need a bit of attention to get it just how you want it.
There are so many different ciders ranging from the notorious cloudy rough stuff that gave cider a bad name through to highly sophisticated drinks made using traditional methods that balance flavour with lower alcohol levels. You only have to visit any of our county shows to see how much passion, technique and time goes into creating artisan Cider which showcases the talent and variety of ciders hobby cider makers can create.
At its simplest, you only need apples to make cider - you just juice the apples and leave the juice to ferment until it stops, and then wait for the liquid to clear (a bit!) and then enjoy.
The trouble with this "recipe" is that it can be a tad unreliable so there are a few things you may want to do to get more practicable results. You'll have noticed that, since you've read this far, I'm assuming you are at least intrigued. If so read on..
The apples need to be natural and hopefully untreated so look for apples from local orchards or use the surplus from your own or a neighbour's garden. Why natural and untreated? Apples carry natural yeasts on their skins and it is this yeast that will ferment the sugar in the apple juice. Shop bought apples will probably have had the yeasts washed off.
A mix of cookers and eaters works well and starting with 50% of each will give you a baseline for future batches. All the apples contain fermentable sugars but the acidity levels vary and this helps to flavour the final drink. Cider needs a balance of acidity and sweetness - trial and error developing your basic recipe will enable you to achieve your preferred flavour.
Your apples will need to be washed. Not thoroughly cleaned but dropped into a tub of water and rinsed off. Then chop them up and mash them to release the juice which will flow readily, picking up the yeast as it goes. Squeeze as much juice as you can from the pulp to maximise your yield - this is where a cider press comes in handy! The squeezed pulp is good compost or will be gratefully received by any chicken or pigs you may know.
The juice now needs to ferment and for that you will need a container that has an airlock that will allow the carbon dioxide that the fermentation process produces to escape. Glass demijohns are ideal for a gallon (approx 5 ltrs) at a time but both smaller and larger containers are available. As a very rough guide you will need about 10lbs/5kgs of apples per gallon.
Fermentation converts the sugar in the juice into alcohol and carbon dioxide which will start to bubble up after a few days, helpfully showing the process is under way. The liquid will remain cloudy and a sediment will build up.
When the bubbling begins to subside you will see the cider starting to clear and it's beautiful natural colour will begin to emerge. It's good practice to syphone your cider off the sediment around now to help it clear and to avoid the sediment spoiling your cider's flavour.
When it's clear enough for your taste it's ready to drink or bottle for later. If you're going to bottle it be sure to get bottles that are strong enough - Bottle Company South's 500ml Beer Bottles are perfect as they take 3.5 bar pressure. They also sell capping machines. Residual fermentation in the cider can make bottles explode if you don't take care. Call Bottle Company South for advice on bottling and capping.
Copyright 2019
